( please click the title to view this post in your browser)
{my post contains affiliate links; please see my disclosure in the sidebar}
Hello there!
A few weeks ago I shared that we were doing a little What-Not exchange in our Facebook group ( click here to ask to join our group!), but I wasn't able to share details because my partners had not received theirs yet. Now that they have been gifted I can share some details and close-ups, AND I would like to share a really cool technique that I used!
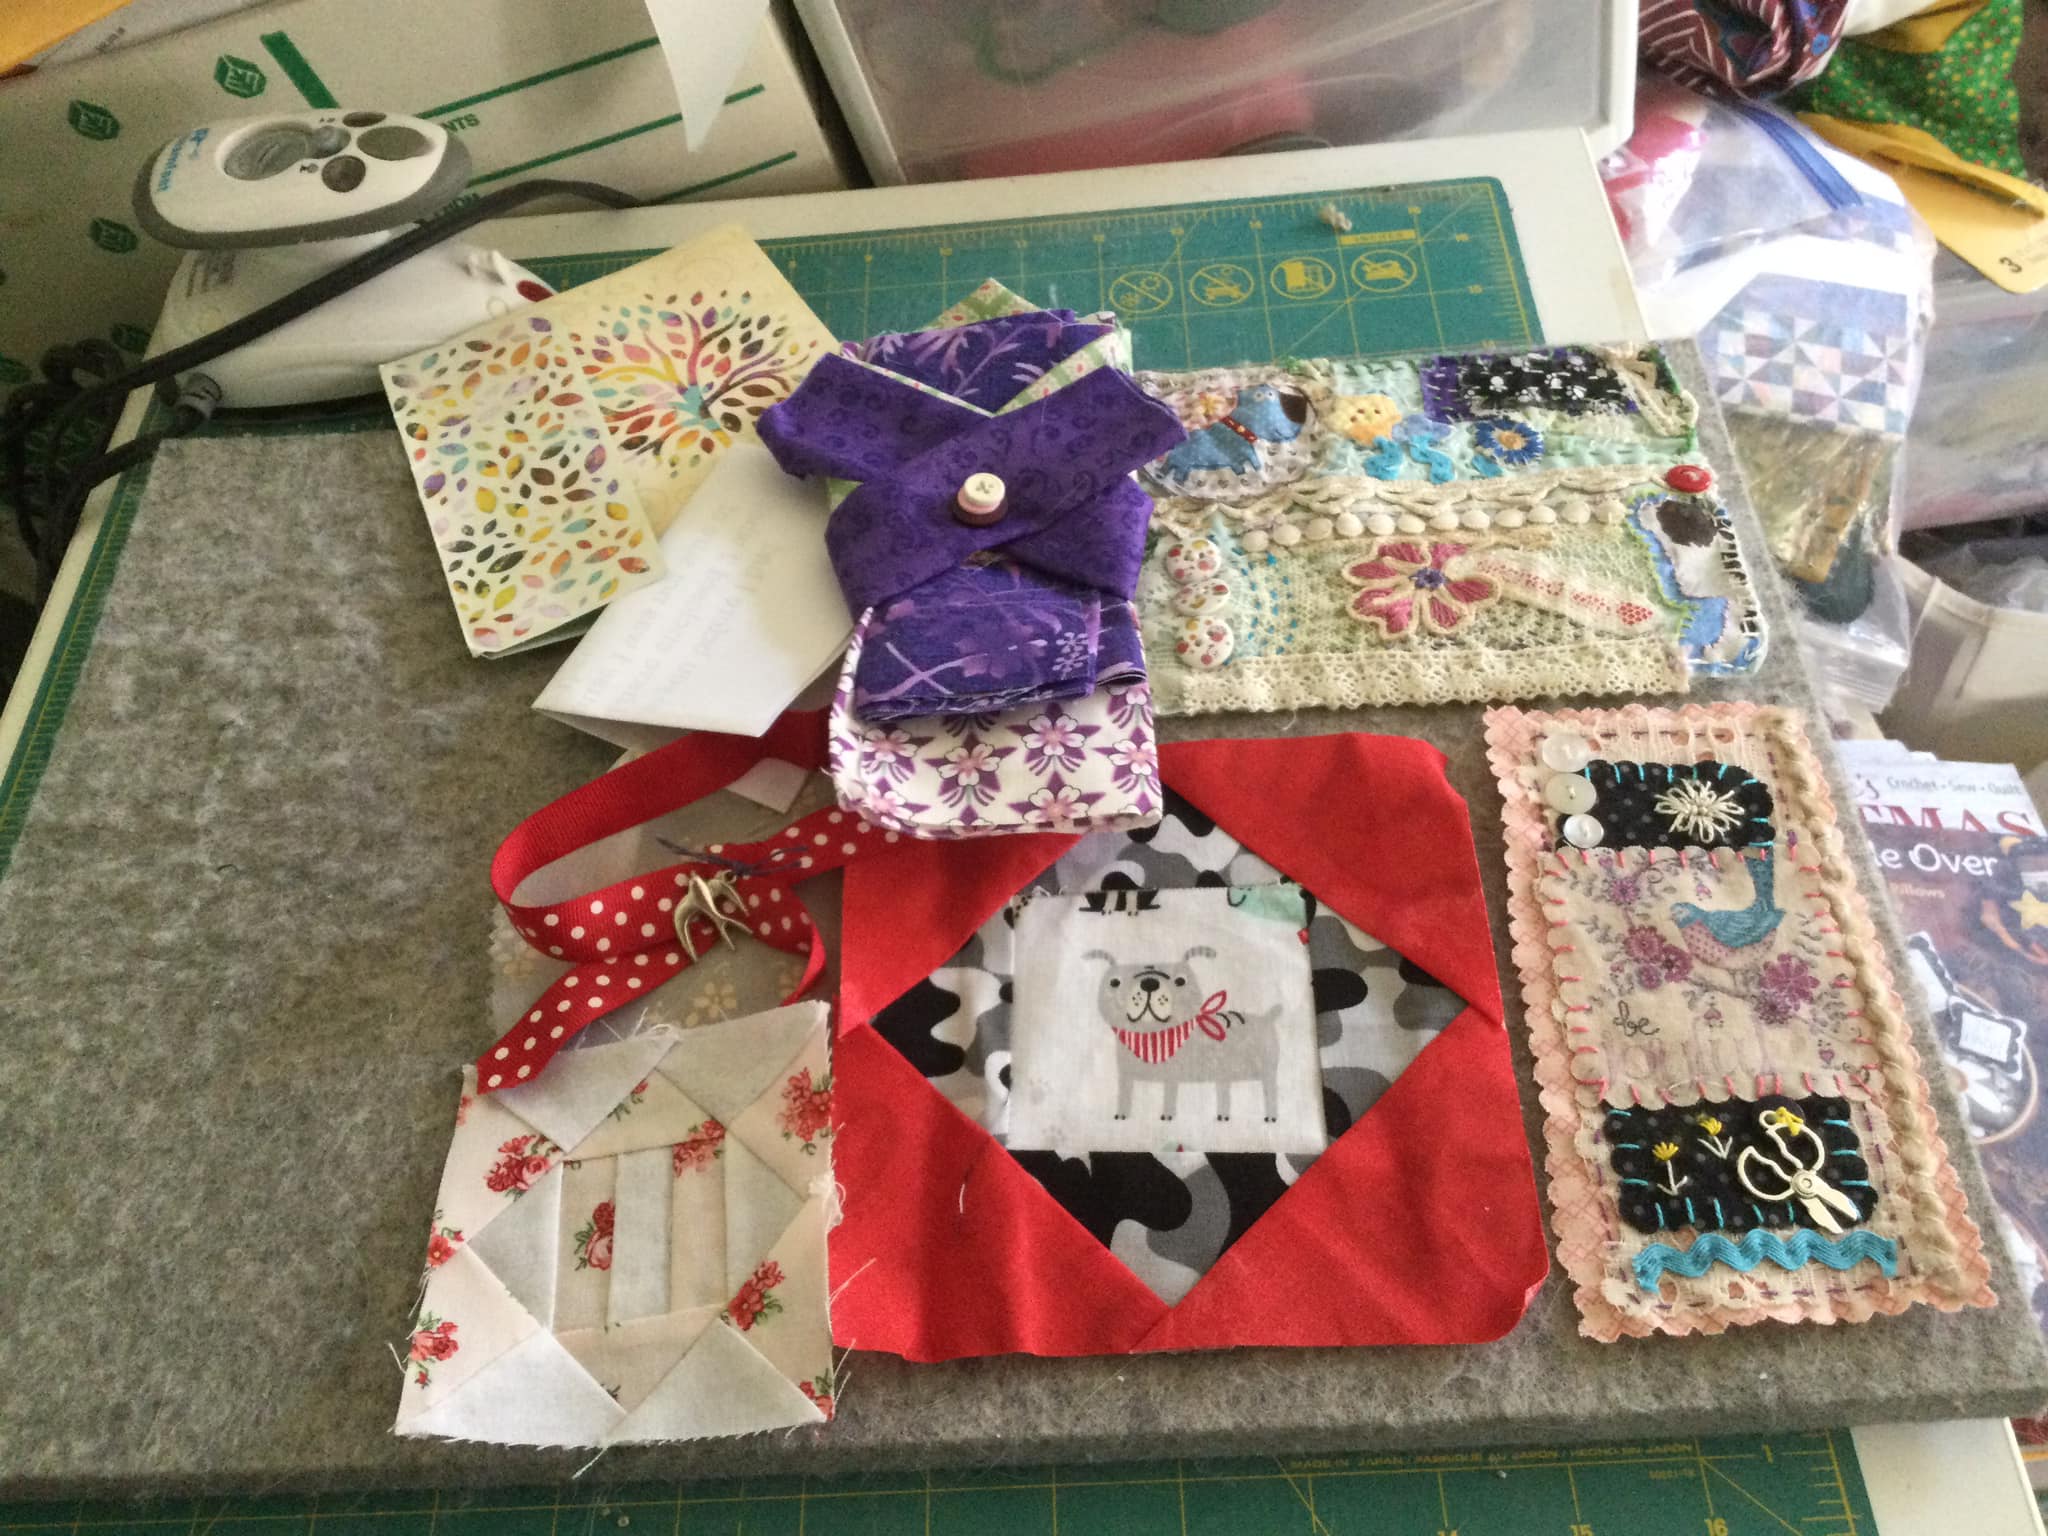
What is a What-Not exactly, you ask? Well, I decided it would be a little handmade something that didn't have to have any purpose, but that included some handstitched details and whatever else people were inspired to add. It has been so much fun seeing what people came up with! Here are a few of the What-Nots that were exchanged:
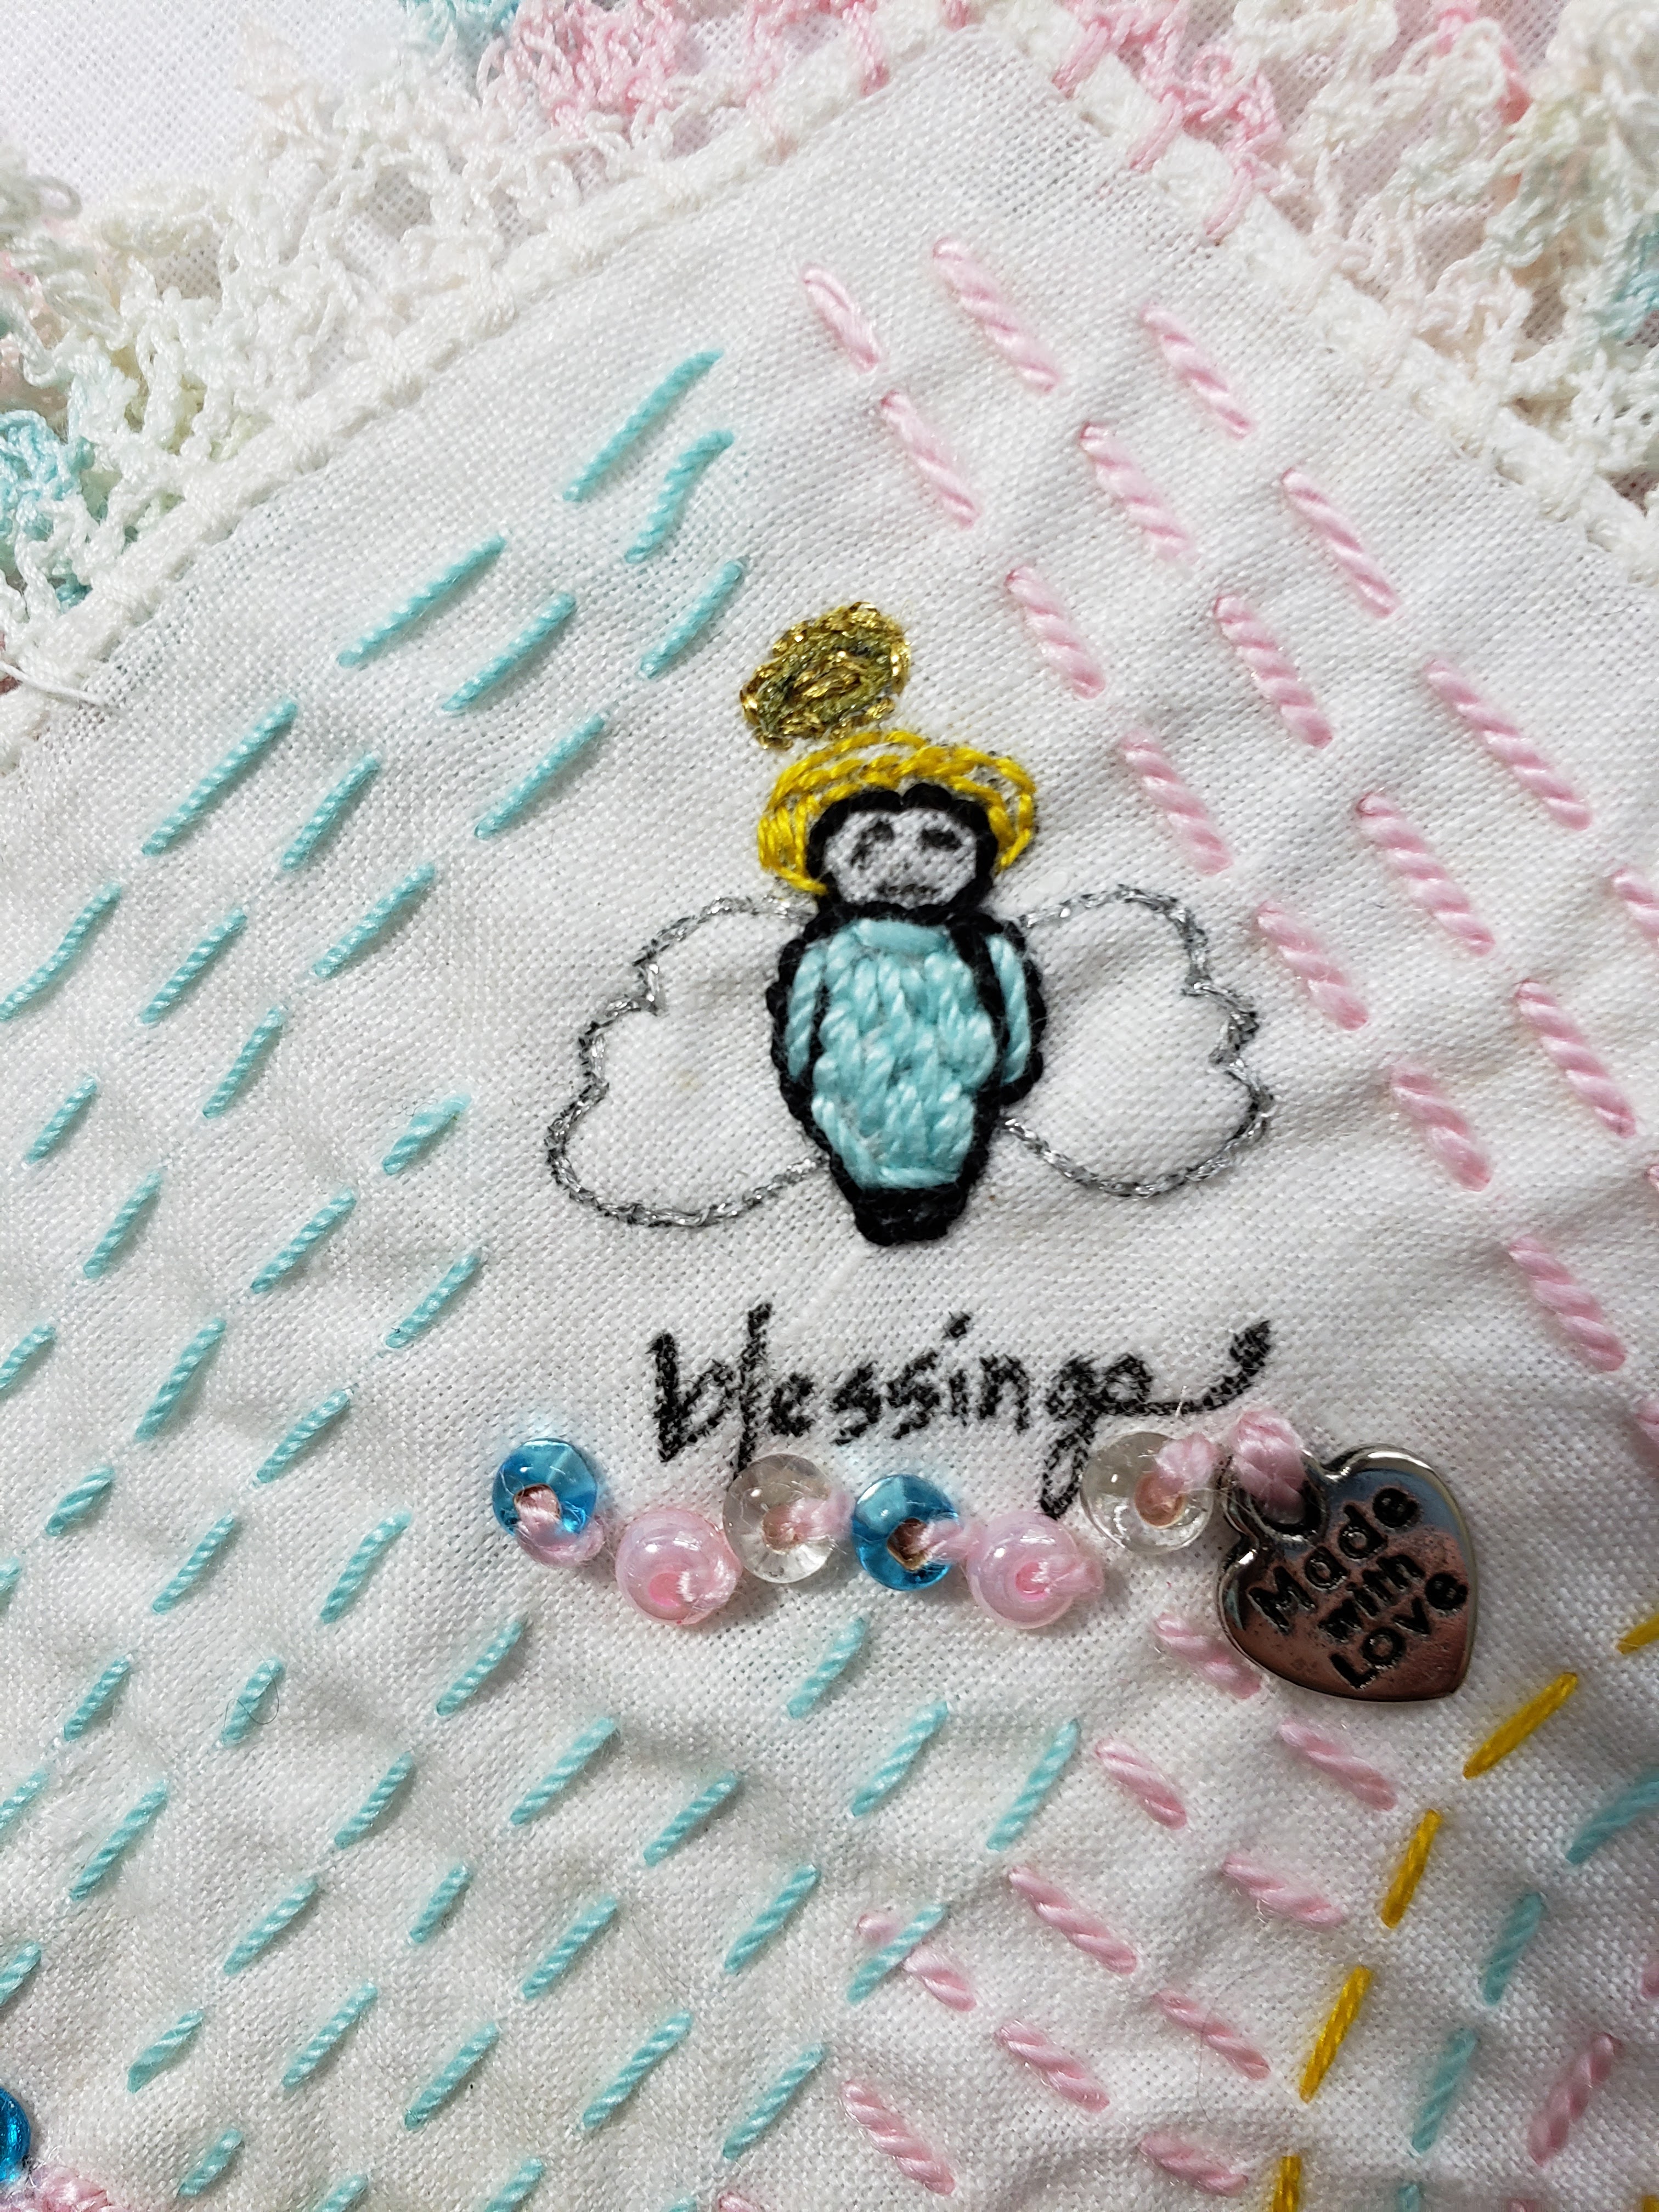
And some detail on those last two, because they were sent to me and I was able to take some great close-up photos ;) ....
Aren't they all so fun and whimsical? And the one thing that I heard over and over again was that people really loved making these! So if you haven't given one a try, I really encourage you to! There is no right or wrong way to make one so go ahead and have some fun!
To help you get started I will share some details on how I made mine and that can be a great starting point for you ;).
I started my What-Nots by sewing some pretty background strips together and sewing them on top of a piece of batting:
You can see that I didn't even worry about having the pieces be even...they can all get trimmed later on! After you sew your backgrounds to your batting it is time for the fun to start! You can add lace, buttons, little yoyos, etc., etc.....the possibilities are pretty endless here! If you remember from my other What-Not, I stamped images directly on the fabric, and also stamped an image that I embroidered and then sewed on ( you can read more about that one in this blog post here).
I really wanted to add some birds to my What-Not and had this page from a coloring book that had these adorable birdies.
So I cut a piece of white fabric the size of printer paper and ironed some freezer paper to the back. I then used the copy function and ran that fabric through my printer after taking out all my other paper from the paper tray.
And voila! My printer didn't give me any trouble doing this, but you are of course trying this at your own risk because I don't know what kind of printer you have and if it is finicky ;). You will want to pay attention to how your paper feeds through your printer because you need it to print on the correct side. So I suggest you play just with paper to start, until you are sure how it feeds through. Once you have success, the possibilities are now endless, aren't they? I have loads of rubber stamps that I now want to enlarge and print on fabric in the same manner.( Is there a copyright issue here? I don't believe so because these are for my own personal use.)
After printing I decided to give the ink a good press with a hot iron ( protected by a cloth), and then I was ready to color!
I used some watercolor paints that I use for cardmaking ( you can find similar here) and started filling in various areas on the birds. The thing with watercolor is that the wetter the fabric, the more it bleeds, so if you are a person who needs to stay inside the lines you might want to use a different method of coloring! I think the bleeding adds a beautiful, artistic touch!
You can see that my orange flowers have less bleeding and that is where I used less water and more paint.
After painting, I sewed the birdie down with my machine and added some detail with embroidery floss ( you can find my absolute favorite thread here). Looking so cute already!
A few more details added in:
And the final result: 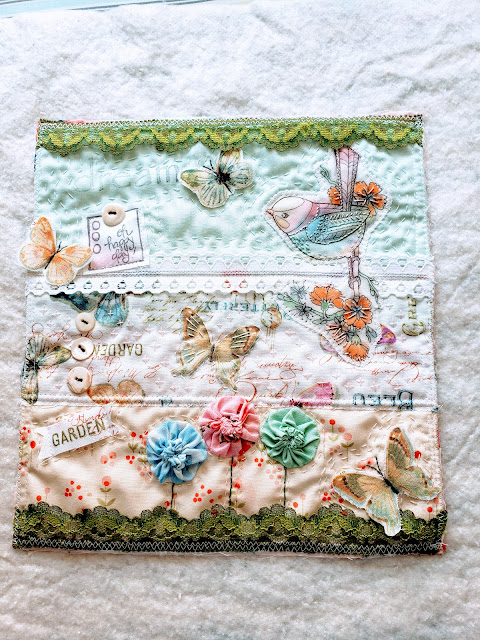
I do want to mention that my piece has a backing, which I added and zigzagged on around the edge after everything was stitched on and down. And dummy me forgot to take a picture of the second one I made, but believe me, it also turned out super cute! So, are you inspired to try your own What-Not? I hope so! I am considering offering up some bags of What-Not makings because I realize that not everyone has access to a re-use store that sells lace and buttons, and all sorts of vintage goodies, so do contact me if you would possibly be interested in buying one and we can work out the cost. And on the subject of contacting me, you have probably noticed that my blog posts are now being delivered via my email address because Blogger suddenly and without warning stopped sending posts out to email subscribers. If you are not yet an email subscriber, but would like to receive my posts whenever they are published, please email me @farmhousequiltsinLancaster@gmail.com.and let me know so that I can manually add you to my list!
Alright, I am off to work on my newest quilt creation!
Until next time~happy creating!
Monique


I will try your water color method soon. Love your birdie and flowers.
ReplyDeleteThank you, and do try it, so much fun!
DeleteI love everything that you do and find my day happier when I hear from you. Thanks so much. I love these what-nots and can see myself making some that would be simpler and easier for me.
ReplyDeleteAbsolutely, they are a bit addictive ;)
DeleteWas great fun. Thank you for doing this
ReplyDeleteGlad you enjoyed the exchange!
DeleteGreat blog Monique
ReplyDeleteThe What Nots turned out so pretty
Love your bird, very interesting how you did it
Enjoyed reading it Cindy Kennedy 🍄
Thanks, Cindy!
DeleteNice work with the watercolor paint on fabric!
ReplyDeleteThanks, Tierney!
DeleteSEW Beautiful! Thanks for the close-up photos. I love embroidery and these are just adorable!
ReplyDeleteThanks, Karla, I hope you will give one a try sometime!
DeleteEnjoyed reading your blog! Such a fun project and exchange. Looking forward to playing with watercolors!
ReplyDeleteAbsolutely, and it is definitely PLAY ;).
Delete