Hello everyone!
I am back today with a quick blog post in which I will share a fun and easy tutorial for a Calico kittten, and some more tips and hints for the next installment of the Quilted Scarecrow sewalong I am participating in.
{my posts may contain affiliate links, which means that I might get paid a few pennies IF you decide to buy something through one of those links. This costs you absolutely NOTHING extra. Thank you for supporting me in this way}
Yesterday I had some fun playing around with some scraps and an Accuquilt die ( if you are thinking this tutorial won't work for you because you don't own any Accuquilt products...not true, so read on anyway ;) )
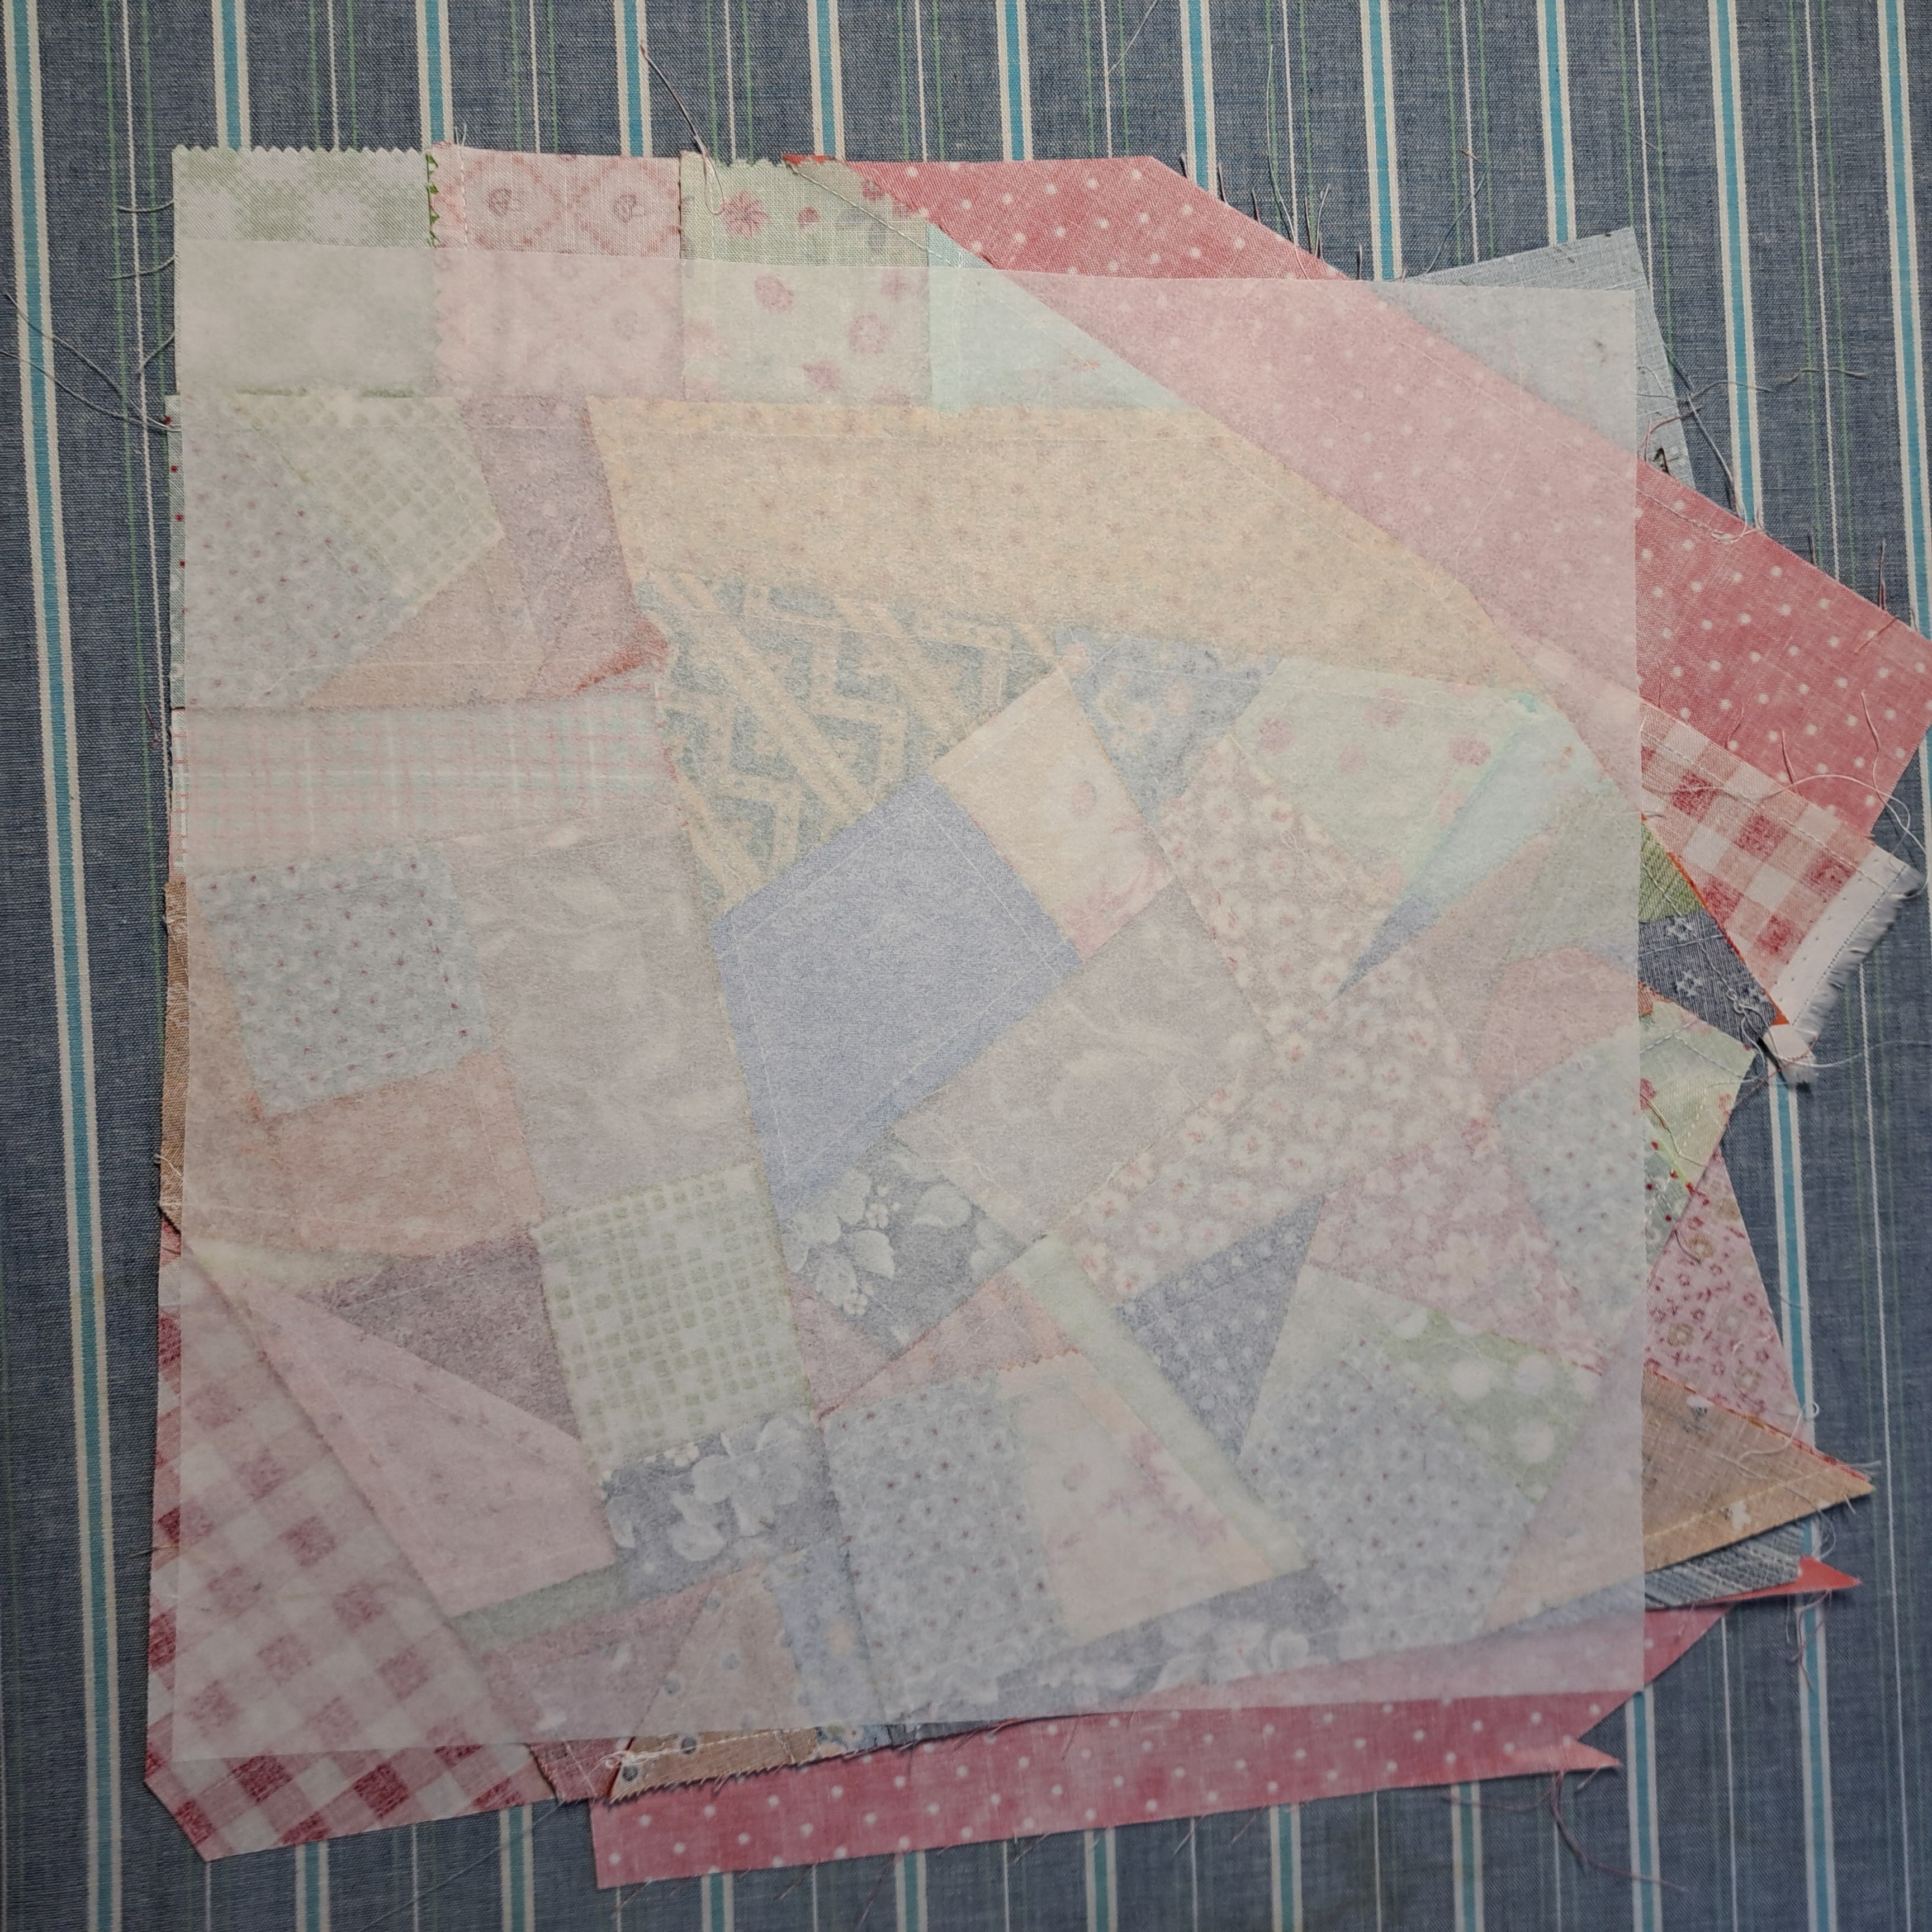
I started by sewing together lots and lots of little ( and some bigger) scraps, until I had a nice sized, colorful piece of fabric:

I sewed until the piece of fusible web that I had matched the size of my scrappy fabric, and I kept checking by laying one on top of the other.

When I deemed by fabric piece big enough, I fused the fusible to the back of my fabric with my iron.

I also fused some plain white, black, pink, and green, for noses, inner ears, and eyes. You could ofcourse choose whatever colors you like.


I covered my die with my mat and ran it through the Go!Me cutting machine ( click), and voila! One kitty all ready to be assembled!

***If you DO NOT have an accuquilt, you can still make a cute project like this by tracing a cookie cutter or a line image you find online, or even by drawing your own image ( the simpler, the better) onto the back of your fusible. And then go ahead and cut it out with scissors ;).
The next step ( which I forgot to take pictures of) was to layer all the kitty shapes where I wanted them on a piece of felt (or you can use wool) and to fuse them down. ( Be careful if you are using recycled felt because it may melt!).
Next, I used my sewing machine and a straight stitch to sew all my shapes down and went around the kitty outline twice with black thread. You can choose whatever stitch and whatever color thread you prefer, as long as everything gets stitched down.

The final step was to trim close ( about 1/4 away) to my kitty so that my felt still showed. You can decide to add a little hanger or possibly a magnet and any other litlle fun items you want ( always remember who the recipient is and whether the items will be safe for them to have!). I opted to free stitch a little black heart on mine, but a button or a bow would be super cute!
That's it! Easy-peasy, but if something is not clear, please ask! And I hope to see lots of kitties appear in the Facebook groups! This technique could be used on lots of different dies, so experiment and have some fun!


In my next blog post I am hoping to share my experiences playing with this cool Quilt Genius Design Tool Kit that C&T Publishing was kind enough to let me try!


Super cute calico kitty! I like how you make them :-)
ReplyDeleteI love just random sewing! ;)
DeleteFrom Joyce Stratton - love the kitty and what a great way to use up some of my smaller scraps.
ReplyDeleteIt certainly is, Joyce. Are you planning on making one ( some....they are a bit addictive ;) )?
DeleteImpressive article.1
ReplyDelete