( my post contains affiliate links: Please see my disclosure in the sidebar)
Hello again,
I'm back with part 2 of our February sewalong, plus some other fun projects that I want to share with you today! Aren't we so lucky to have this amazing hobby/ obsession with this quilting craft? Every morning I wake up and consider what I might work on that day, and that brings me so much joy...oh, the possibilities a fresh new day brings ;).
Alright, let's jump right into part 2 of our sewalong ( if you missed the first part you can read about that here (click).
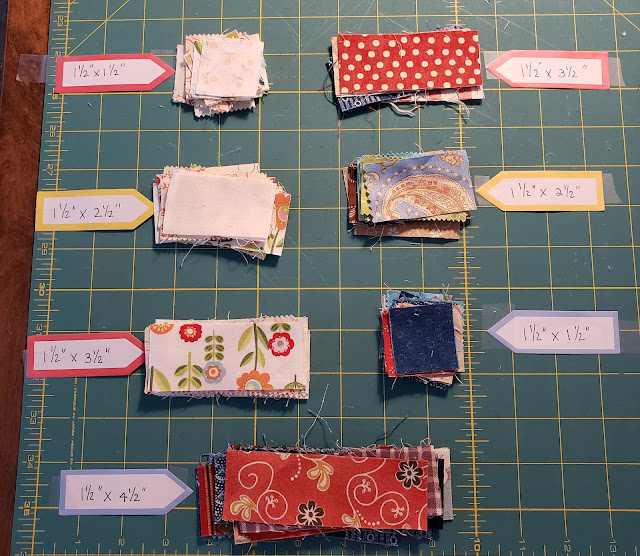
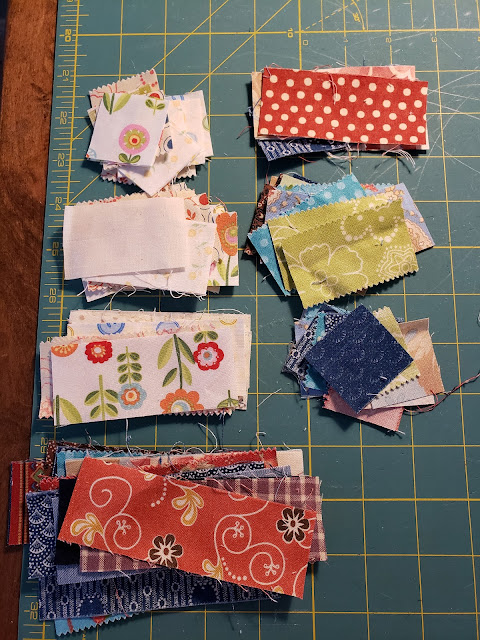
You have cut all your pieces and are ready to start sewing your blocks together. I found it SO much easier to lay the dark and light fabrics that needed sewing together NEXT to each other, like this:
Remember that all our "logs" need to measure 4.5" after we have sewn them together, so if you have one that sticks out like a sore thumb you will know that it was sewn to the wrong "partner"!You can of course sew these chain-piece style, but I chose to do mine block by block so I could control the colors a bit.
I used my wool mat ( click) to organize my pieces and laid that next to my sewing machine and then sewed the logs for each block together, like this: It is pretty easy to mess up and sew the wrong logs together, ( ask me how I know!) so laying them next to each other in a STAIR STEP way is a great way to keep them organized. Press your blocks.Pressing your seams open makes it easier to sew your seams later, but do what you prefer. Now is the time to square up each block to 4.5"! If you do it now, you will have a much better chance of having a true-sized 8.5" block when you are done. And don't worry if your blocks are off....as long as they are all off the same amount you will be just fine! I love using my rotating cutting mat ( click) and Cute Cuts Trim it Square ruler ( click) for this purpose. So quick and easy! In fact, I own all the sizes up to 10.5 and they come in super handy for squaring up my blocks in all kinds of projects ( because, you know, my blocks are rarely square :P ).CAUTION: Pay very careful attention to how you orient your blocks here! Each block is rotated once as you go clockwise around so that the long log ends up on the outside so please make sure you do just that! I found it easiest to grab my 4 blocks and lay them all the same direction, and then twisted and turned from there. Once I had made one block correctly, I kept that one in front of me, just to make sure I would orient all my blocks the same way.


No comments:
Post a Comment
I love it when you leave a comment!