{ my posts may contain affiliate links, which don't cost you one extra penny, but support my blog and group....thanks for supporting my time and efforts in this small way!}
Hello friends,
Even though we are still dealing with some snowbanks and chilly temps here in central Pennsylvania, every once in a while there is a nice sunshiny, warmish day, which promises the impending arrival of Spring. I can just smell it already, can you? I have to admit that I have been eyeing the ground around our Maple trees, where hubby and I planted a large number of bulbs last Fall, hoping to spy those first little pointy green bits, but nothing so far. But I am convinced that our ornamental pear tree and dogwood trees have buds! And in our garage we already have the wood for the new garden beds that hubby will build me, in a sunnier spot in our backyard this time around, just as soon as the ground thaws and we can install them without slipping and sliding in the mud. I am ready for Spring! How about you?
( image via Pixabay)
Of course the great thing about Winter weather is that I have a perfect excuse to hibernate inside and work on quilty stuff, and that is what I have been doing...
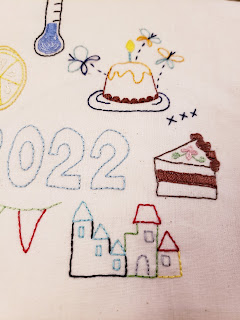
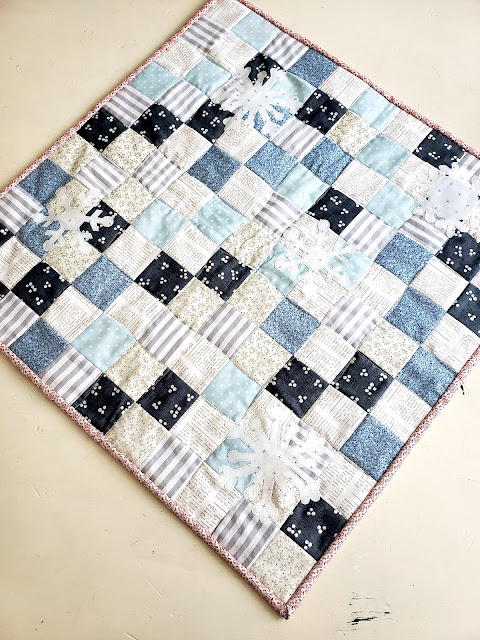
Here are some photos of projects I am working/have worked on these last few weeks. ( If you want any more information on any of these projects, use the arrows at the bottom of the post to scroll back through previous posts and you will find them all there).
( Happy Villages quilts)
( Christmas quilt)
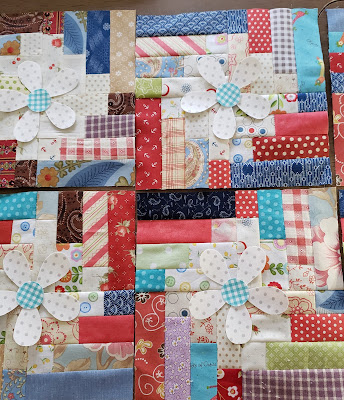
But when I laid out the daisies on each block I didn't like them so decided to scatter them all over the quilt, rather than one per block, more like this:
I think it is very important to play around with various aspects of your quilt, until it gives you a happy feeling! You have several options for your applique ( if you choose to do any that is!). You can use fusible web like I did, or you can use needleturn applique. If you don't care for needleturn, there is another great method, where you sew two ( simple!) shapes together RST, then cut a slit in one, turn the entire shape right side out, and then sew down by hand or machine. I really enjoy that method, but the daisy shape would not be the easiest shape to do that with, and fusible web is so much faster!
For those of you who are new to quilting and/or fusible web, here is a quick little tutorial:
Start by tracing your shapes onto the paper side of the fusible ( I like using this brand ( click).
Next, cut out your shapes very roughly and lay them on the BACK of your chosen fabric.Following the manufacturer's instructions, fuse your shapes to your fabric, let cool, and then cut those shapes out exactly on the lines.
Then fuse your shapes to the front of your blocks, again, following the instructions provided by the manufacturer. You will need to sew your appliques down because they won't stand up very well to washing without that little step. If you are not planning on washing your project, you might be able to get away with no sewing, but I can't guarantee it will never let loose... I will recommend that you add appliques to EACH block before sewing your blocks together ( especially if you are making a BIG quilt) because it will be so much easier to work per block, rather than with the entire quilt! ( on mine that obviously wasn't doable because some of my daisies went on the seams of blocks, but my quilt is small and still easily maneuverable).After I fused my daisies, I needed to decide how to fasten them down...and again, had to decide what would make ME happy...and that was "sketching" around each petal and the center with black thread to really make those daisies stand out on that very busy background.


This comment has been removed by the author.
ReplyDeleteLove your projects and helpful suggestions!
ReplyDeleteGreat! And thank you😊
DeleteYour projects are so cute! I love the daisies. They are my favorite flower. I'm so ready for warmer weather with lots of sunshine. I still haven't been able to start my quilt but I'll get there.
ReplyDeleteThanks,Kaye!And you know there is never any pressure from me to do any project😉
Delete